There I was, in Lone Pine, CA. I finally made it to my first in-person, astrophotography workshop. The weeks leading up to it were an absolute bear. It was a wonder that I made my flight at all…
I chatted with my fellow workshop attendees, who were all so friendly. Everyone introduced themselves and their photography gear, which was humbling and intimidating. (I was the only one with an a6000.) But I was determined. There’s little opportunity for astrophotography where I live. So I was going to make the most out of this trip.
Suddenly, our leaders pitched their voices into workshop mode:
- “Okay everyone, grab your camera and turn on bright monitoring.”
- (my a6000 doesn’t have it, so focus monitoring it is)
- “Long exposure noise reduction, off.”
- “Switch to Adobe RGB.”
- “Steady shot, off.”
As I clicked through my camera’s menu system, it hit me: all of those YouTube vids about astrophotography on the a6000, hardly spoke to astrophotography on the a6000 at all. Like, not even close.
In that moment, I realized that great low light photos, on any camera, requires a bit more elbow grease & finesse.
It’s worth it, though.
As you know, low light conditions, like astrophotography, demand a high ISO, wide aperture, and slow shutter speed. The good news is, this allows you to capture things you normally wouldn’t see at night. The bad, grainy, noisy images.
To compensate for all of that grain & noise, photographers take multiple photos of the exact same thing, then stack those exposures while editing. Which produces a cleaner, sharper result. This method, used for stars & the Milky Way, is called star stacking.
Before I go any further, I must clarify that I will only talk about star stacking here. There’s another way to capture sharp stars, but it’s another post for another day.
Now, some say 10 exposures is enough for a good star stack. But our leaders felt that number should be closer to 25.
(They’re both talented Sony ambassadors, whose work I admire… I’m not gonna disagree.)
You also need to mount your camera on a sturdy tripod. And once your camera is set, you shouldn’t touch it, not for anything. Not even with the 2 or 10 second shutter delay. God forbid you should accidentally move your camera as you’re getting your stack. Even if you could maintain a gentle touch and keep your camera still, you don’t want to press the shutter every 6 or so seconds, 25 times.
By the way, taking multiple exposures, at timed intervals, is called interval shooting. In case you were wondering 😉
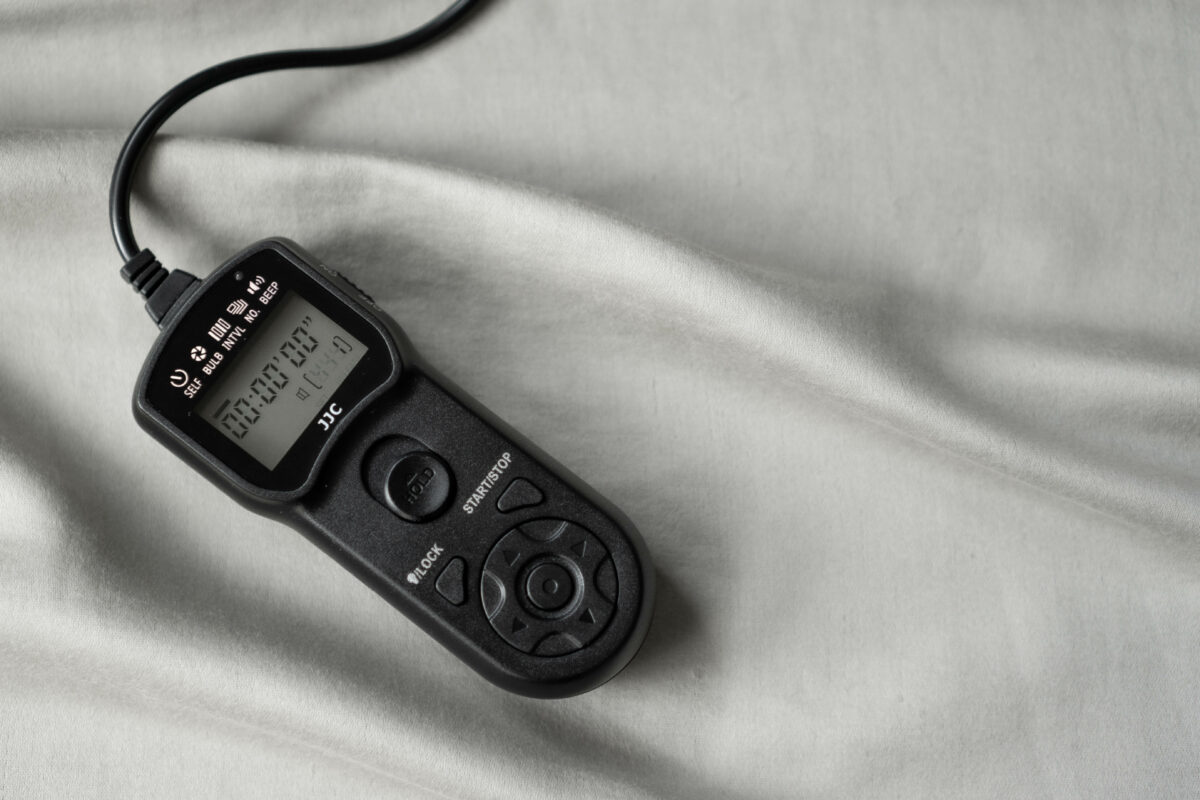
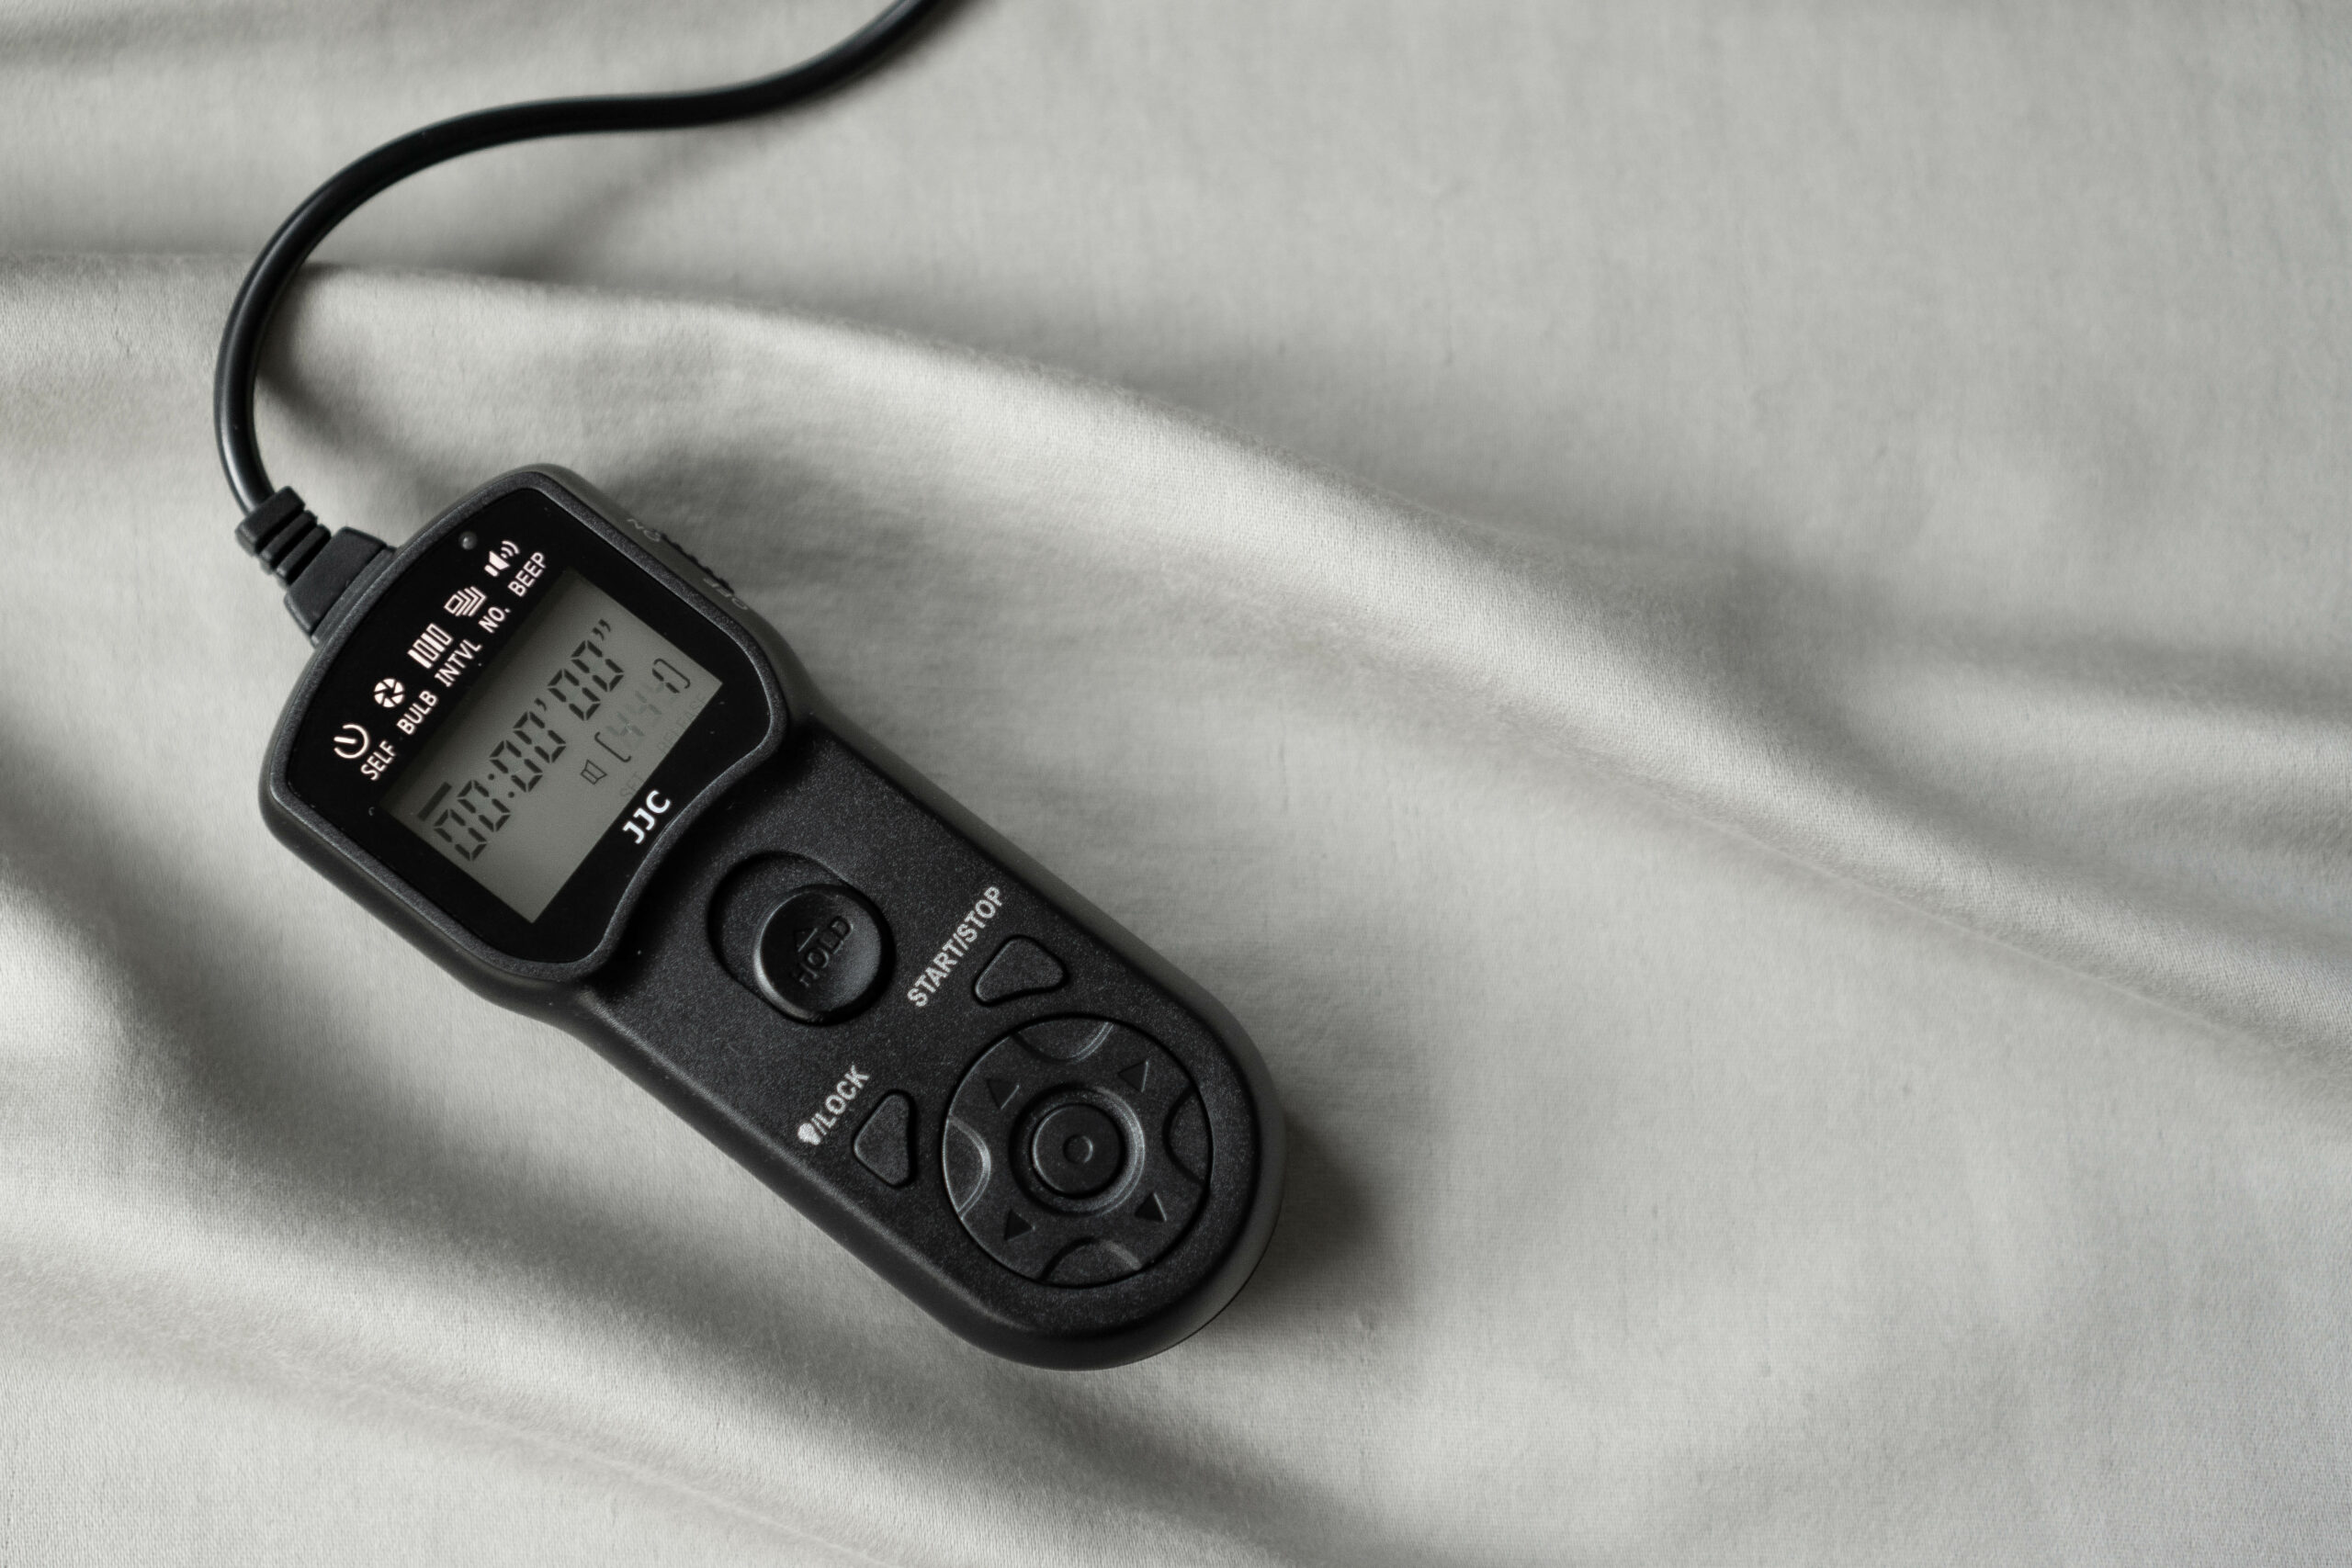
Unfortunately, it’s not a standard feature on the a6000. (There’s an app you can install, but it’s not created for astrophotography, trust me.) For about $25 though, you can purchase something called an intervalometer, that’ll handle intervals for you.
Just make sure to order one that’s compatible with the a6000.
Mine can handle a generous number of exposures over a long period of time. It can also manage time lapse, continuous shooting, and long exposures, comes with a self-timer function and can act as a manual remote shutter.
Pretty cool what this thing can do.
To calculate your ideal shooting interval, you’ll need to do a little figuring-out, or open PhotoPills. More on that later.
I hope this helps with your astrophotography. Keep at it, you can do it.
Until next time,
K


