

I’m embarrassed to say this, but I’ve been adjusting the shadows, midtones and highlights in my photos, not really knowing what those words mean.
I know, shame on me. But there’s so much to photography, you know? Sometimes the only way to learn is to dive in and get messy.
What I’m trying to say is, I chose to focus on getting it right in camera before anything else.
I don’t know if I’ll ever master my camera 😂, but I am ready to talk about shadows, midtones and highlights.
So here goes.
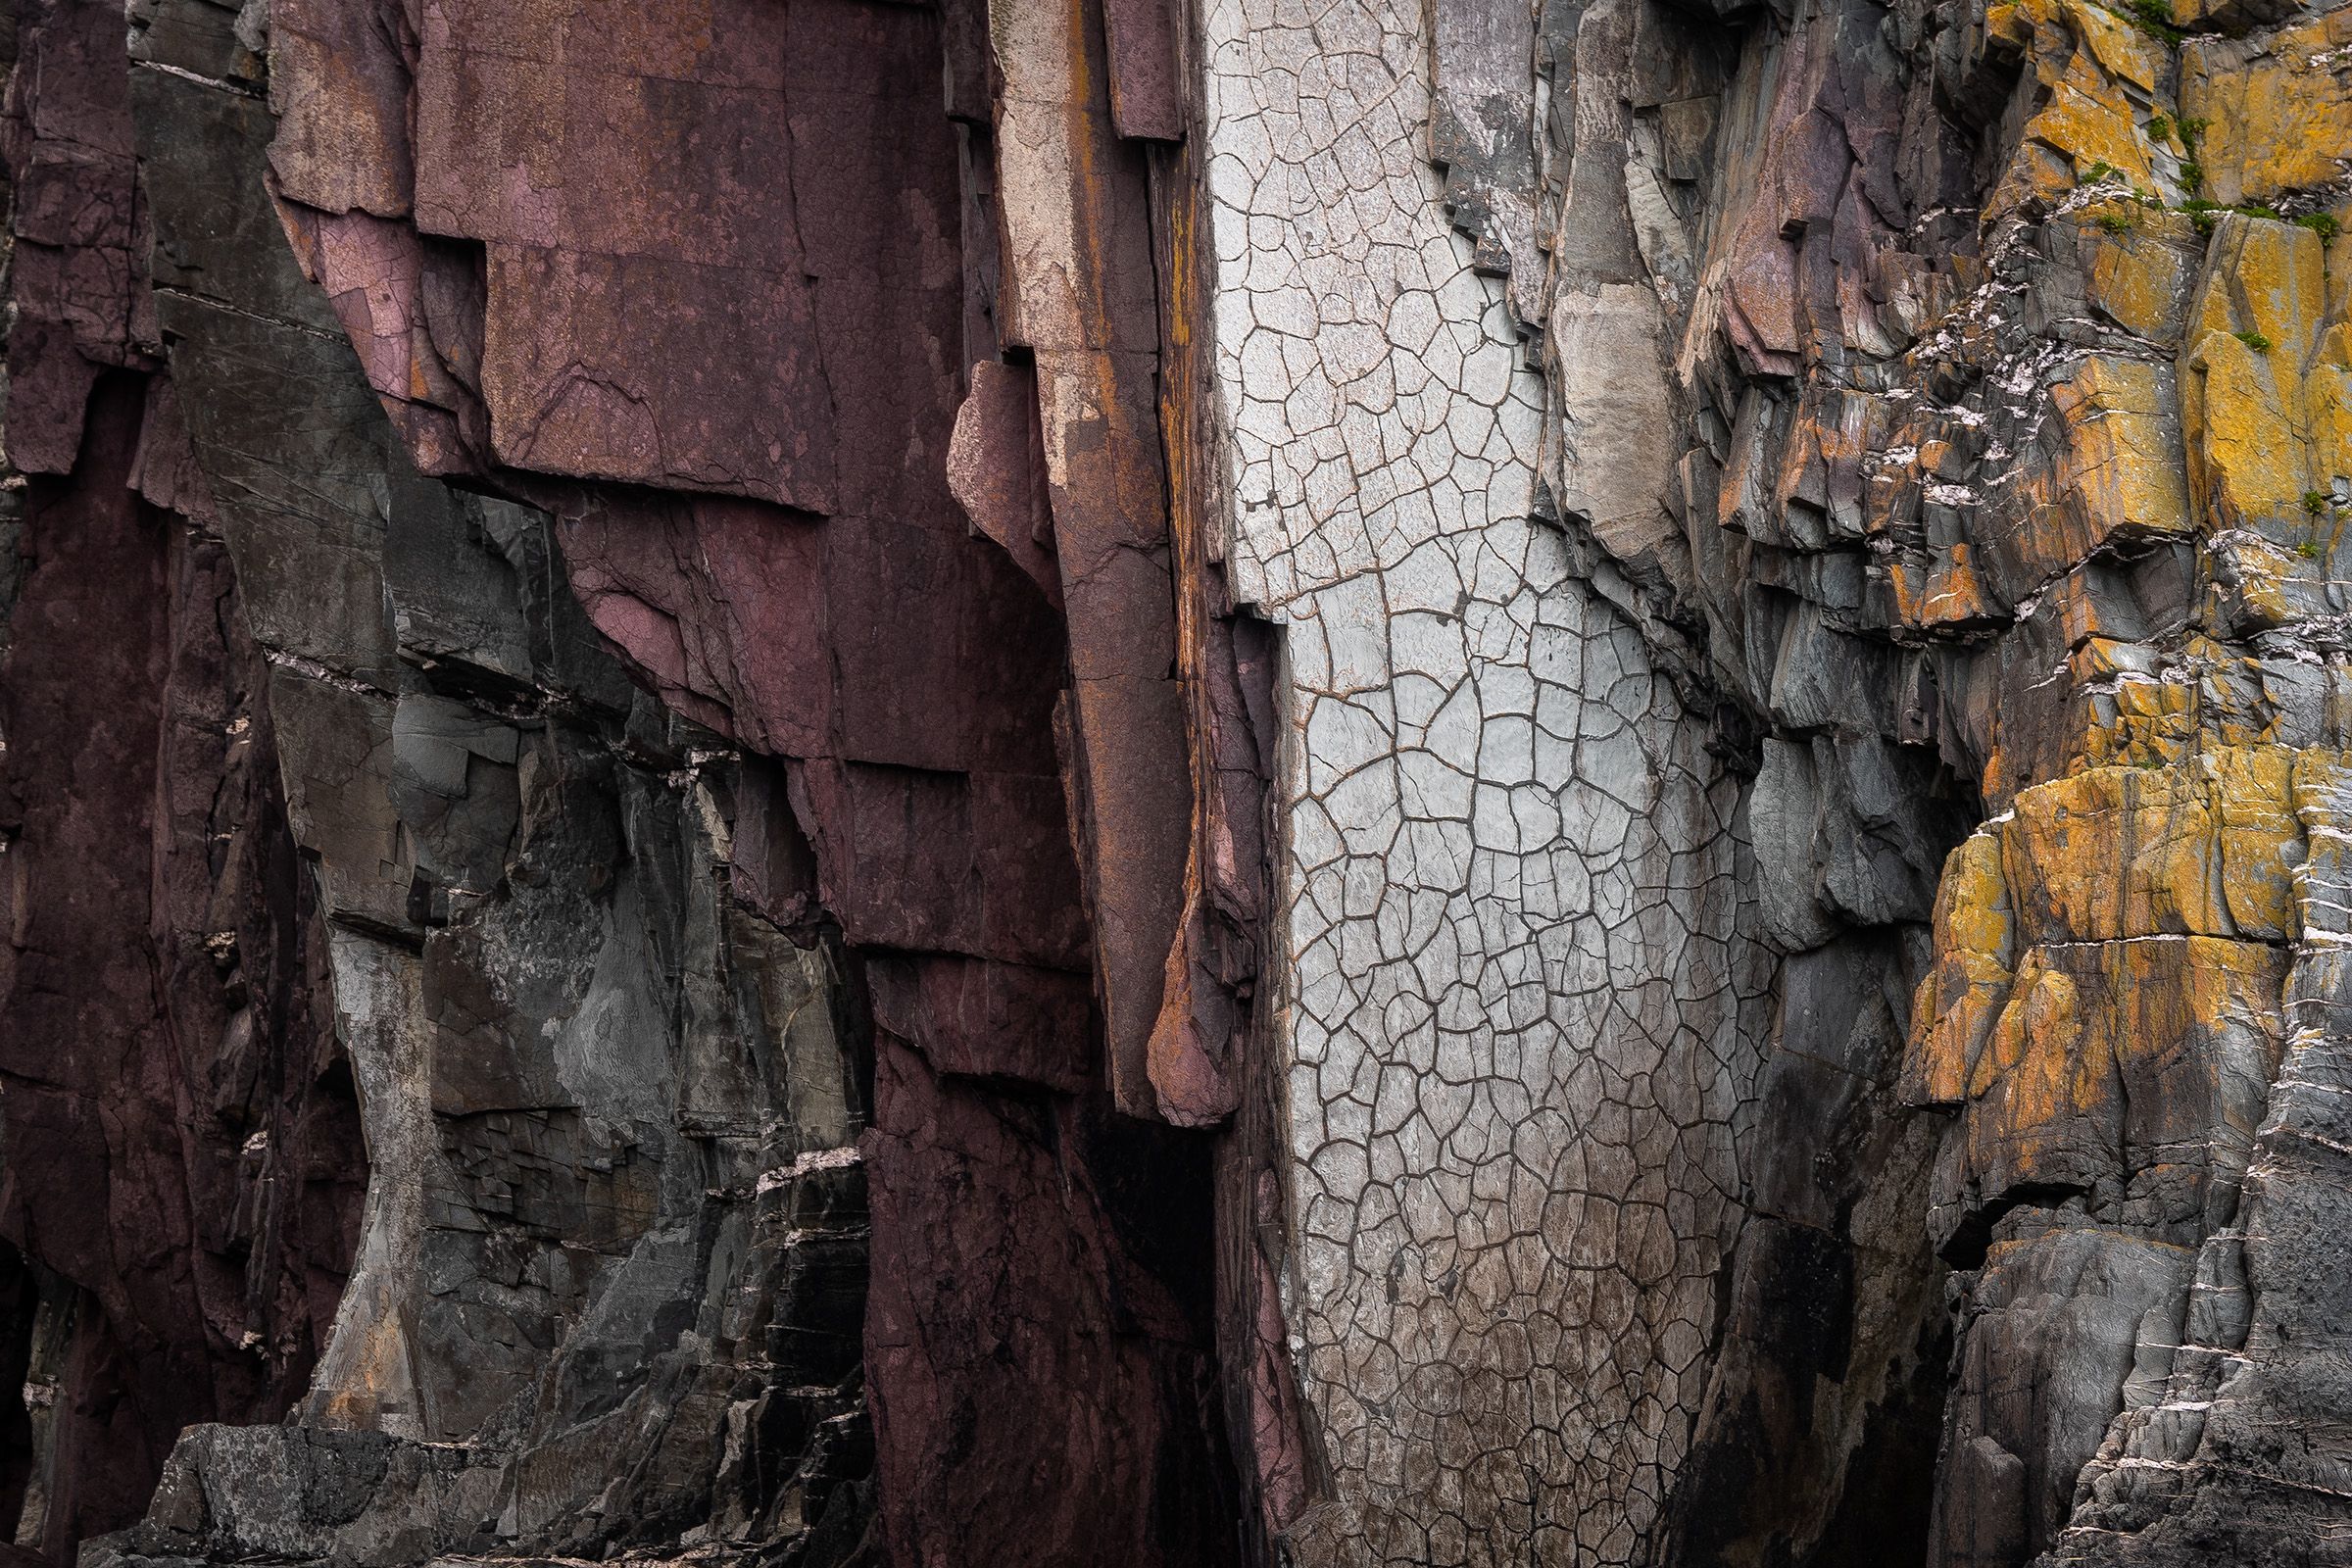
Shadows, midtones and highlights are part of your photo’s tonal range, from the darkest darks to the brightest lights. And if we’re gonna talk tonal range, we have to throw in blacks and whites, too.
Now, imagine your favorite photo, with its bright, dark, light and shadowy parts. Or use my photo above as an example.
- The blacks in your image are areas of zero brightness. If you zoom into the black, there’s no detail, only black.
- The shadows in your image are dark, but unlike blacks, contain color and detail.
- Midtones are the middle ground. Think areas of ‘average’ brightness.
- Highlights are bright, but not 100% bright. Like shadows, highlights also contain color and detail.
- Finally, the whites are areas of 100% brightness. If you zoom in, there’s no detail, only white.
Many photos have a little bit of black, some shadow, lots of midtone, some highlights and a little bit of white (think histogram shaped like a bell curve). But your proportions are really up to you and the look you’re trying to achieve.
Is it wrong to have large sections of black in your photo? No. Is it wrong to have large sections of white in your photo? Also no.
At this point, you’re probably wondering how all of this works in Lightroom.
Patience, my friend. We’ll get there in a future post.
Until next time,
K